Sample Collection
Introduction to Specimen Collection
Laboratory tests contribute vital information about a patient's health. Correct diagnostic and therapeutic decisions rely, in part, on the accuracy of test results. Adequate patient preparation, specimen collection, and specimen handling are essential prerequisites for accurate test results. The accuracy of test results is dependent on the integrity of specimens.
Safety and Disposal Considerations in Specimen Collection
In all settings in which specimens are collected and prepared for testing, laboratory and health care personnel should follow current recommended sterile techniques, including precautions regarding the use of needles and other sterile equipment. Treat all biological material as material that is potentially hazardous as well as contaminated specimen collection supplies. For all those who are involved in specimen collection and preparation, the responsibility to adhere to current recommendations designed to maintain the safety of both patients and health care workers does not end when the patient is dismissed.
There are four steps involved in obtaining a good quality specimen for testing: (1) preparation of the patient, (2) collection of the specimen, (3) processing the specimen, and (4) storing and/or transporting the specimen. Since information related to any of these areas may change as clinical laboratory technology changes, please refer to the latest edition of the Labcorp Directory of Services and Interpretive Guide for current instructions.
Preparation
Prior to each collection, review the appropriate test description, including the specimen type indicated, the volume, the procedure, the collection materials, patient preparation, and storage and handling instructions.
Preparing the Patient. Provide the patient, in advance, with appropriate collection instructions and information on fasting, diet, and medication restrictions when indicated for the specific test.
Preparing the Specimen. Verify the patient's identification. Proper identification of specimens is extremely important. All primary specimen containers must be labeled with at least two identifiers at the time of collection. Submitted slides may be labeled with a single identifier, but two identifiers are preferred. Examples of acceptable identifiers include (but are not limited to): patient's name (patient's first and last name exactly as they appear on the test request form), date of birth, hospital number, test request form number, accession number, or unique random number. A
location such as a hospital room number is not an appropriate patient identifier. If chain of custody documentation is necessary for the procedure, follow the appropriate protocol. All specimens should be labeled in the presence of the patient. Process and store the specimen(s) as required. Appropriate storage and handling are necessary to maintain the integrity of the specimen and, consequently, the test results.
Avoiding Common Problems
Careful attention to routine procedures can eliminate most of the potential problems related to specimen collection. Materials provided by the laboratory for specimen collection can maintain the quality of the specimen only when they are used in strict accordance with the instructions provided. To collect a sufficient quantity of each type of specimen indicated for the procedures to be performed, please consult the volume requirements published in this Directory.
General Specimen Collection.
Serum Preparation.
Plasma Preparation.
Urine Collection.
Collection Procedures
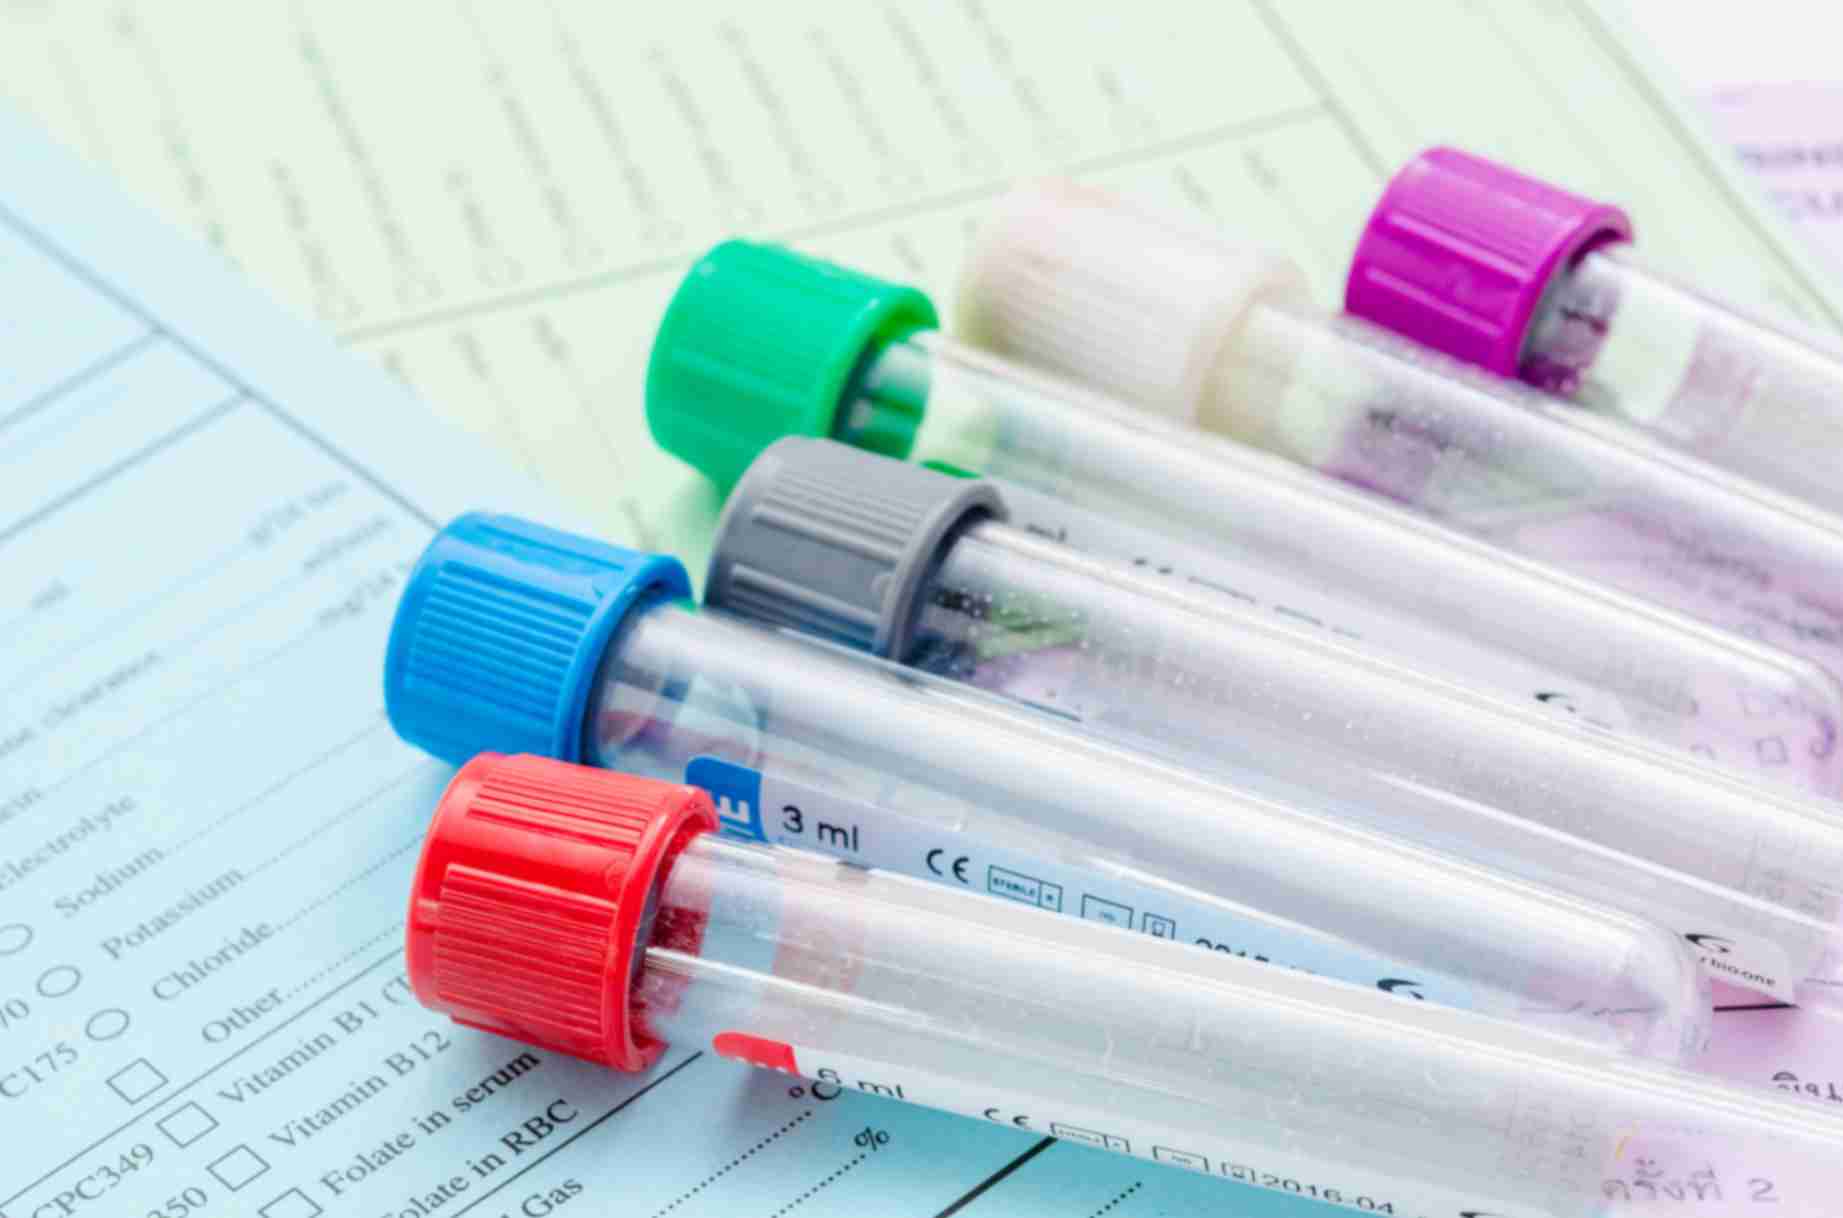
Collection of Vacuum Tubes Containing Additives (eg, anticoagulants, preservatives, clot activators, gel-barrier). When using vacuum tubes containing an additive:
- Tap the tube gently at a point just below the top to release any additive adhering to the tube or top.
- Permit the tube to fill completely to ensure the proper ratio of blood to additive. There will be some dead space at the top of the tube.
- To allow for adequate mixing of blood with the anticoagulant or preservative, use a slow rolling wrist motion to invert the tube gently four to eight times. Failure to invert tubes may lead to the formation of microscopic clots.
- Rapid wrist motion or vigorous shaking may contribute to hemolysis.
- Check to see that all the preservative or anticoagulant is dissolved. If any preservative powder is visible, continue inverting the tube slowly until the powder is dissolved.
- If multiple samples are being drawn, invert each specimen as soon as it is drawn. Do not delay. Place the tube upright in a rack as quickly as possible after collection.
- The gel-barrier tube is an additive tube and should be inverted five to six times after collection. Allow the tube to stand for 30 to 60 minutes for complete clotting to occur prior to centrifugation.